If you’ve been wondering what all the fuss is about with these little sprouts, here’s your handy guide to microgreens. Plus, learn to grow your own!
What Are Microgreens?
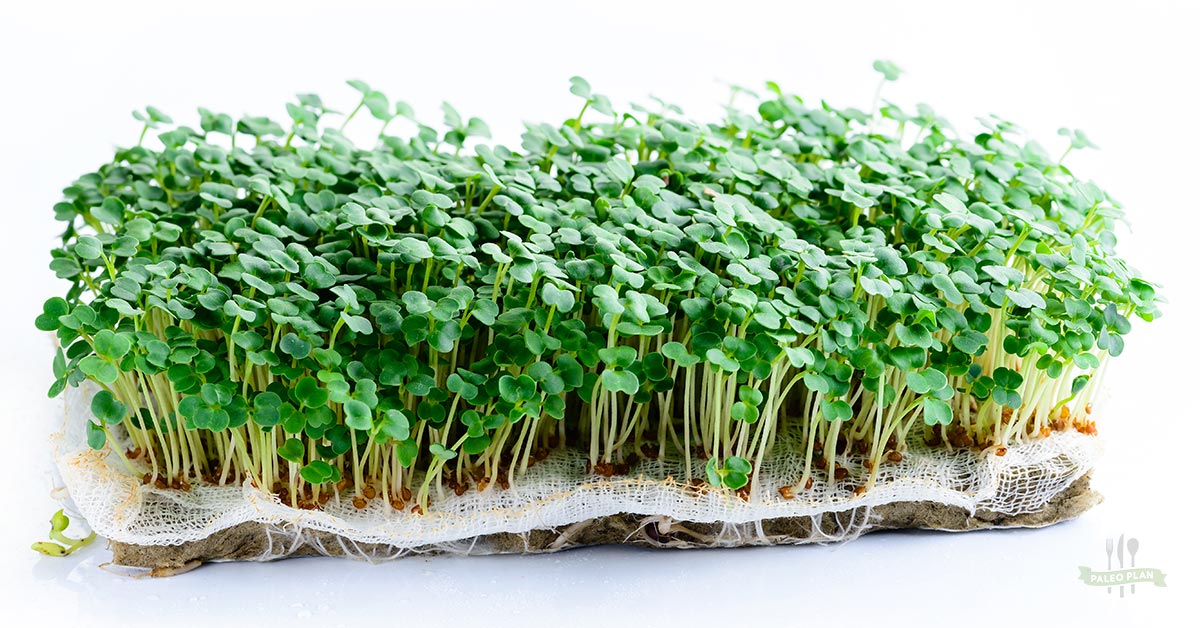
Microgreens are small vegetable sprouts that are one to three inches tall. They’re sometimes referred to as micro-herbs or vegetable confetti.
Microgreens are aromatic vegetables that are almost herb-like because they grow in a contained space like an herb garden. In fact, most people who’ve seen them and not known what they were would’ve assumed that is exactly what it was. Others may have assumed they were sprouts, but sprouts and microgreens have a few key differences. First, sprouts have no leaves and are harvested in a few days to, at most, a week. Microgreens have a growing cycle that is typically one to three weeks from germination.
Microgreens are often sold before they’re harvested, which is why you might think you’re purchasing a small garden when you buy them. Every part of the microgreen is edible: leaves and stem.
Health Benefits of Microgreens
Microgreens add color and flavor to dishes, but they also enhance the nutritional value. This is because, in spite of their small stature, they have more nutrients (in some cases) than the fully-grown vegetable alternative.
Rich in Minerals
While all microgreens will have slightly different nutrient profiles, depending on the type of vegetable microgreen you’re eating or growing, they all tend to be rich in minerals like iron, magnesium, potassium, zinc, and copper. (1, 2) These minerals are needed for anything from healthy thyroid function to hormone balance to having enough oxygen in the blood to transport nutrients throughout the body. Zinc is also an immune booster, and magnesium can help promote restful sleep at night.
Antioxidant Support
Antioxidants help to fight oxidative stress in the body, which is basically the breakdown that happens with aging and as the cells succumb to oxidative damage. Antioxidants keep us in good working order at a cellular and mitochondrial level, which translates to being younger and healthier on the surface. Microgreens provide antioxidants and are a great addition to food items like smoothies, juices, and salads as nutrient boosters. (3) You can even get more antioxidants per bite with microgreens than you can of the full-grown vegetables, thanks to the concentration of nutrients as the young plant is growing. (4)
Protection from Chronic Disease
While this one might seem obvious, eating vegetables is tied to a lower disease risk, especially when it comes to heart disease and diabetes. (5, 6) There are plenty of vegetable options out there, but many people still struggle to eat them in high enough amounts. The benefit of microgreens is that you get more nutrients packed into a smaller serving size, making it a more achievable daily goal.
Specifically, microgreens are a wonderful dietary addition for reducing the risk of:
- Diabetes: Thanks to the high antioxidant levels, which help to prevent blood sugar abnormalities and which might help improve glucose uptake in the cells, microgreens can help to address or reduce the chances of diabetes. (7)
- Alzheimer’s disease: Sometimes referred to as type 3 diabetes, microgreens can help reduce the risk of developing Alzheimer’s. (8)
- Cancer: While all cancers are different, the antioxidants in microgreens may be helpful in reducing the risk of certain kinds, most notably prostate cancer. (9)
- Heart disease: Microgreens can help reduce the inflammation associated with cardiovascular disease and also lower triglyceride levels. (10, 11)
20 Different Varieties of Microgreens
There isn’t just one type of microgreen, just like there isn’t just one type of vegetable. Microgreens can be grown from different kinds of seeds, such as: (12)
- Cauliflower
- Broccoli
- Cabbage
- Watercress
- Radish
- Arugula
- Beet
- Spinach
- Swiss Chard
- Lettuce
- Endive
- Radicchio
- Cucumber
- Squash
- Celery
- Carrot
- Dill
- Onion
- Leek
- Garlic
Each type of microgreen variety will have a different taste, most of them more potent than the actual full-grown vegetable. Microgreens can be sour, bitter, spicy, or warming, and will be used differently depending on the type of dish you’re preparing.
How to Eat Microgreens
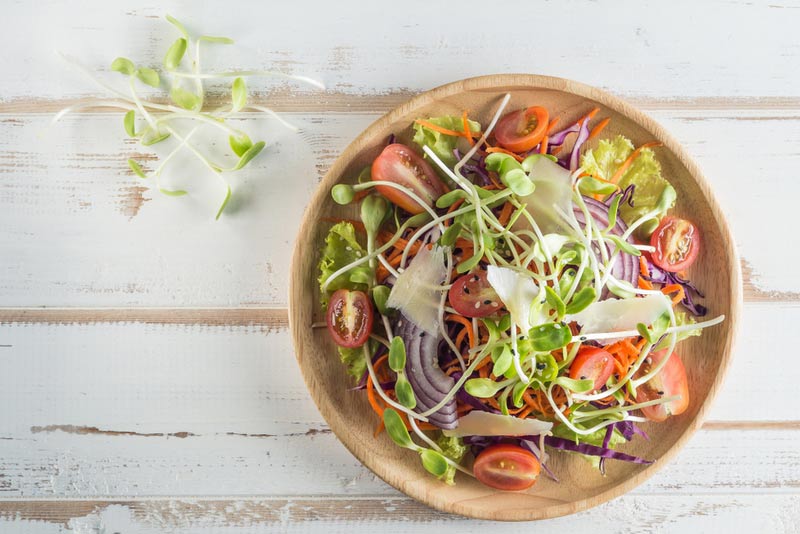
Microgreens can be eaten in several different ways, but you don’t have to be a fancy chef to incorporate them into your diet. If you’re new to microgreens, there are three simple ways to add them to your routine without having to research or experiment.
Smoothies: Choose milder-tasting microgreens for smoothies, like watercress, spinach, chard, and lettuce. Add these with any other fruits, vegetables, and preferred milk or water. Blend as usual and drink!
Juicing: If you juice vegetables, you can add microgreens to this, too. Depending on your juice profile, you’ll want to pick microgreen varieties that complement it. For example, garlic microgreens probably won’t fly in a carrot-apple juice.
Salads: Anything goes with salads, and that’s the best part! Depending on your veggies and other toppings, just add a few servings of microgreens to your bowl before tossing and enjoy. This is the easiest way to add microgreens without worrying about the stronger flavors adjusting the taste of your dish.
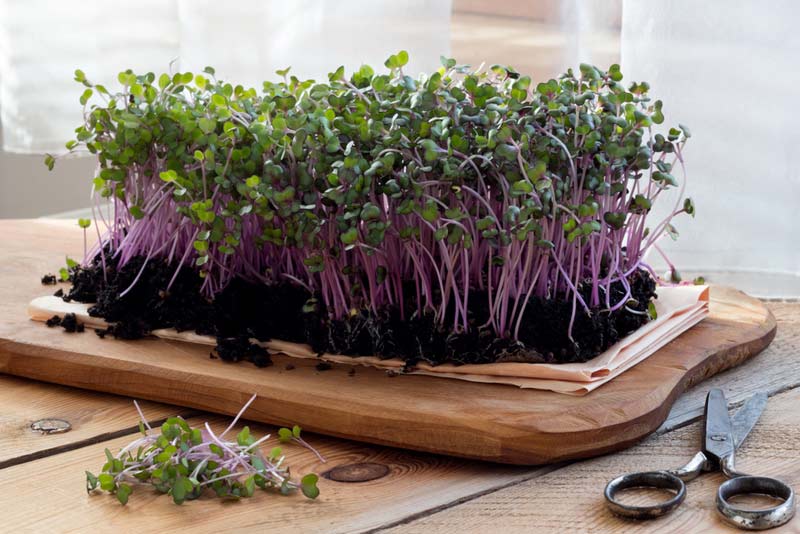
How to Grow Your Own Microgreens
Growing your own microgreens is easy, yes – even if you don’t have a green thumb. This is because microgreens can be grown almost anywhere without the need to keep them alive year-round. You can grow them indoors, outdoors, in a greenhouse, and in a variety of containers and plant types.
First, choose your growing medium, which is commonly peat, vermiculite, or perlite. Also, opt for a single-use growing mat (like this!) to provide a sanitary growing environment. You’ll need a container, too.
Next, you’ll need to choose your microgreen seeds. Make sure they’re good quality from a reputable store or source. Don’t use old ones.
Finally, you will need light and water. This might sound obvious, but choosing where to place your microgreens is essential in their success. They will need sunlight (direct or through a window) or UV lighting for around 12 to 16 hours per day.
Here’s how to plant your microgreens:
- Add your soil to your container. Don’t pack the soil down too tightly. It needs oxygen throughout it for optimal growing. Add a sprinkle of water to your soil.
- Sprinkle the seeds across the soil, keeping it even. You don’t want clumps here and there, because that’s exactly how it will grow.
- It’s time for another bit of water. This time, just use a spray bottle for an even misting across your seeds.
- Cover your container with a lid.
- Check your seeds at least once per day. You may need to mist them once or twice per day, depending on the humidity level of your home or environment.
- Once the seeds have sprouted leaves, remove the lid and make sure they get light exposure for 12-16 hours per day.
- Continue to water them once per day.
- Microgreens are ready for eating after about 7-10 days.
Keep in mind that when growing your own microgreens, there is a slight chance of bacterial growth because of the need for a bit of moist warmth (like most other plants). Thoroughly wash your microgreens before eating, even if you have grown them yourself, to help reduce this risk.
(Read This Next: The Expert’s Guide on How to Cook Mouth-Watering Vegetables)